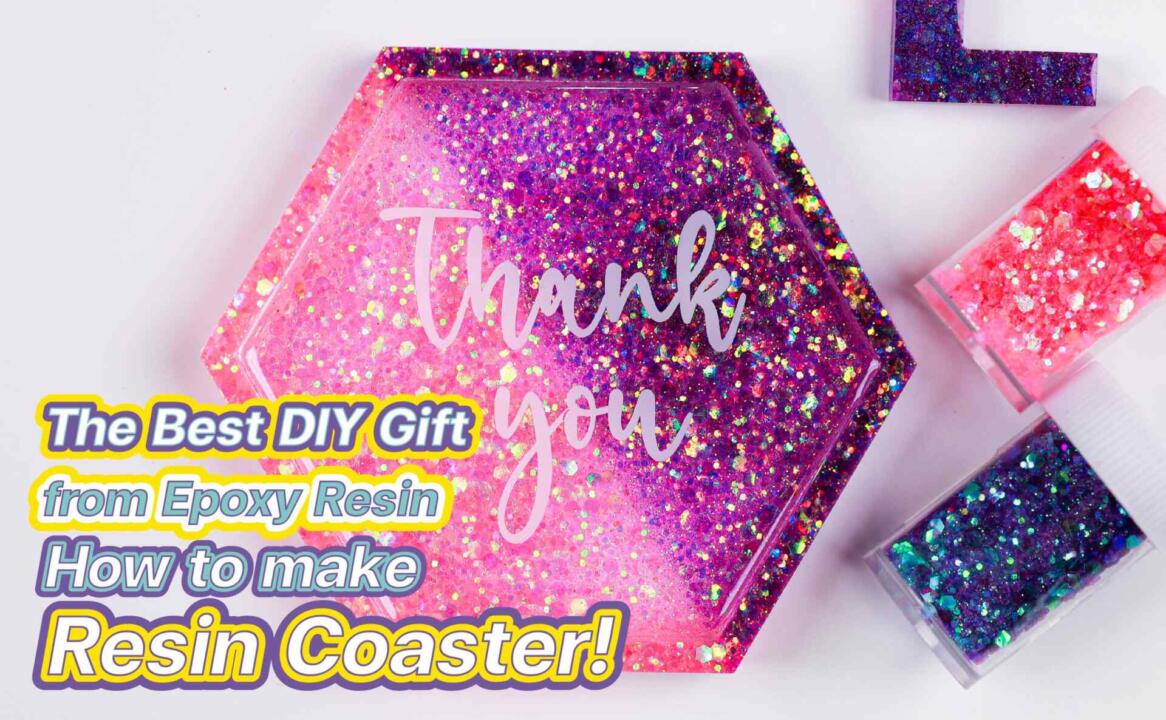
Making resin coasters is one of the most popular things for DIY beginners!
Today, EASY RESIN will show you how to make beautiful resin coasters with two-tone glitter along with cute stickers ready to be gifted to someone special on any occasion! This handcraft will sure be impressive!
What you will need:
- 450 grams of epoxy resin.
- Silicone coaster mold
- Digital scale
- Popsicle sticks
- EASY Torch
- Acrylic sheet 2-3mm. thickness (as wide as the width of a silicone mold)
- Plastic cups or prepared containers
- Glitters (of your choice)
- Stickers
Let’s get started
1. Mix 45 grams of resin and hardener with 2:1 ratio
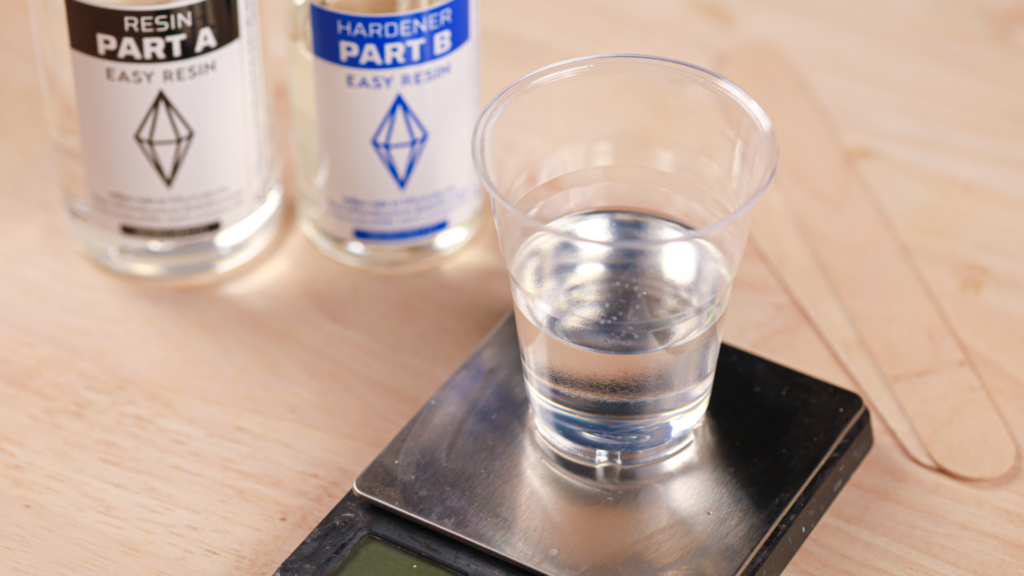
Measure accurately Part A (epoxy resin) for 30 grams and Part B (hardener) for 15 grams. Stir your measured amount of resin and hardener together for at least 5 minutes. Make sure that you mix it until textural lines or streaks disappears before applying. Not stirring properly will result in a sticky resin that will never cure.
2. Divide resin into two plastic cups or prepared containers
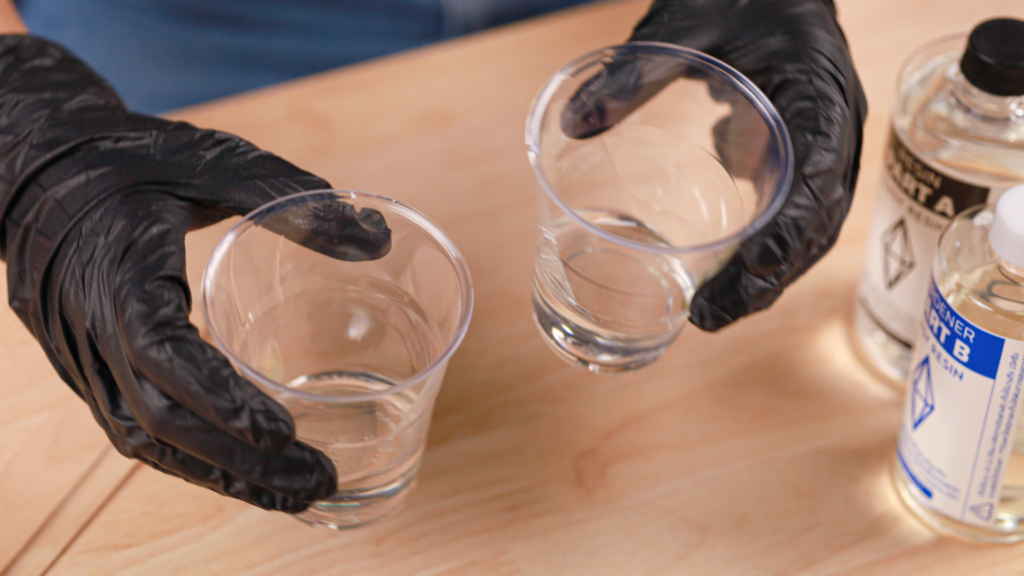
If you want to add more than two colors, you can divide them into as many plastic cups as you need.
3. Add glitters

In this step, you can add any pigments or glitters. It’s all up to your liking!
4. Cut acrylic sheet to the width of the silicone mold
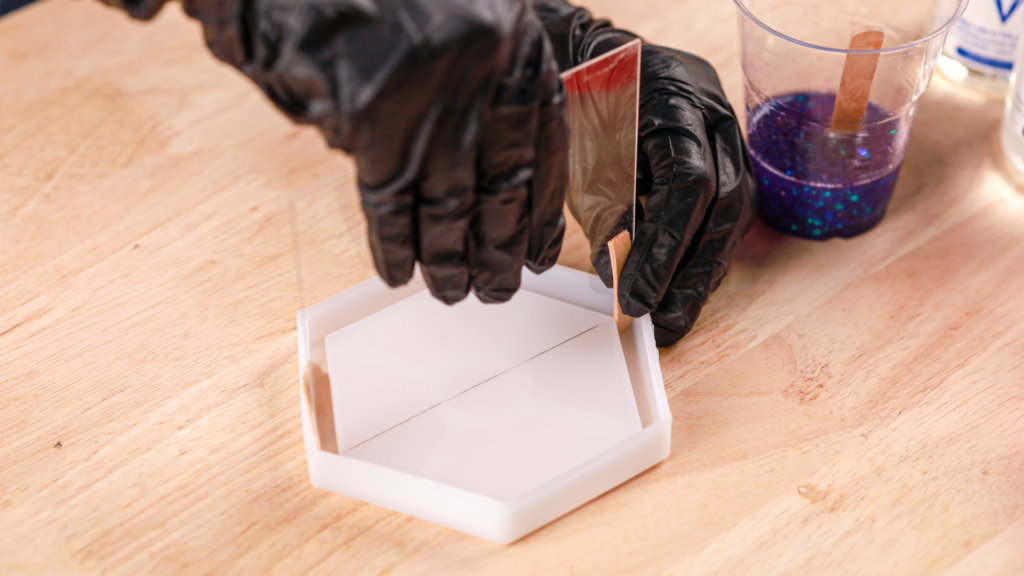
Place the acrylic sheet on the mold to avoid two batches of resin from flowing. If you can’t keep the acrylic sheet on the mold, break some popsicle sticks into small pieces and use them as a support.
Note: silicone mold should be cleaned before use to protect project from dust!
5. Pour resin into mold
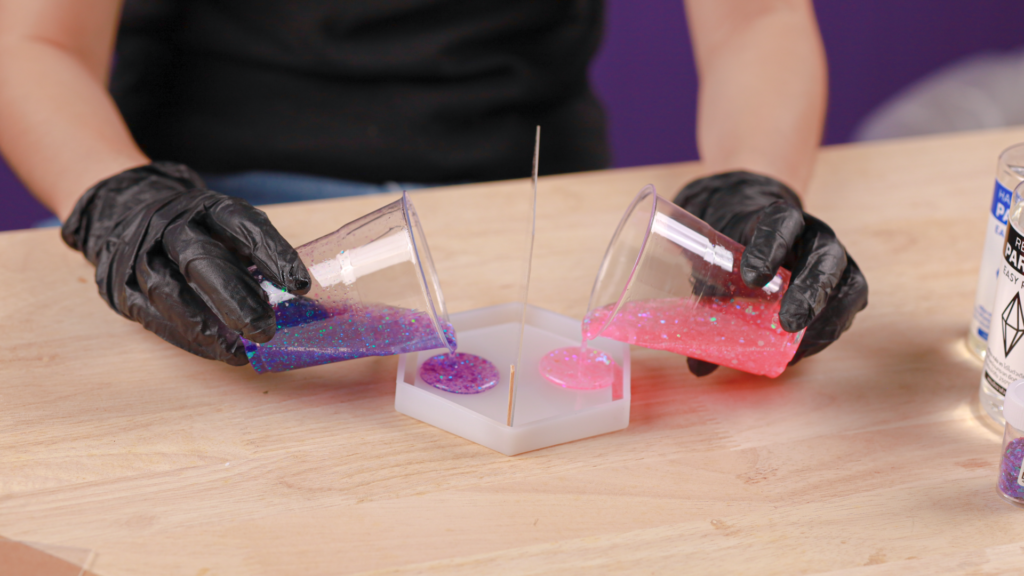
When you are sure that the acrylic sheet is not going to move while filling resin, you can slowly pour both cups of resin together into the mold.
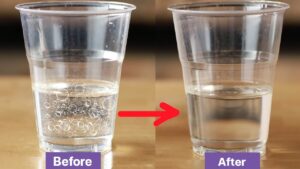
6. Remove air bubbles
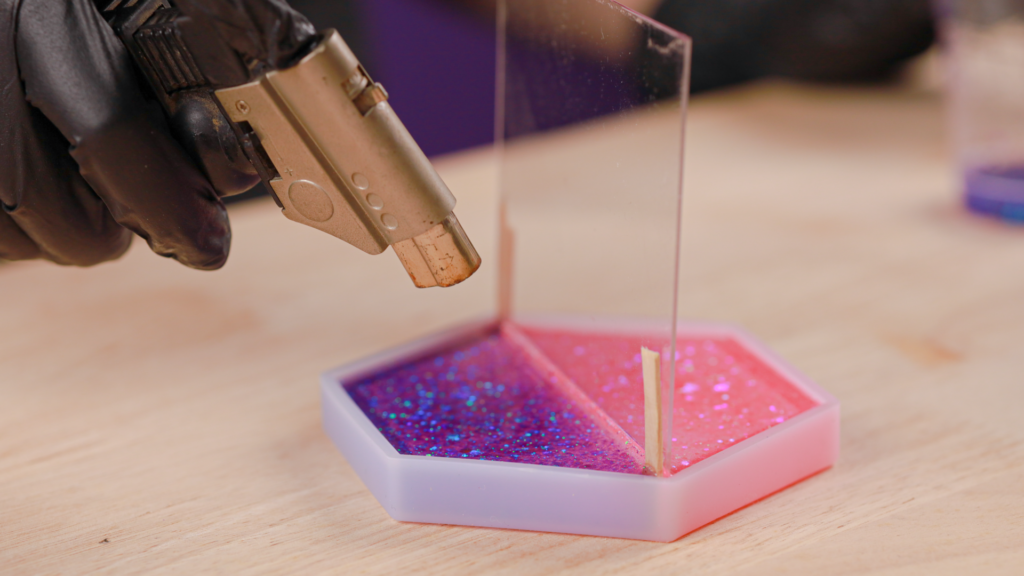
After pouring the resin, wait for a few minutes until you see air bubbles floating up to the top, then use a blowtorch to remove them away.
7. Pull out the acrylic sheet
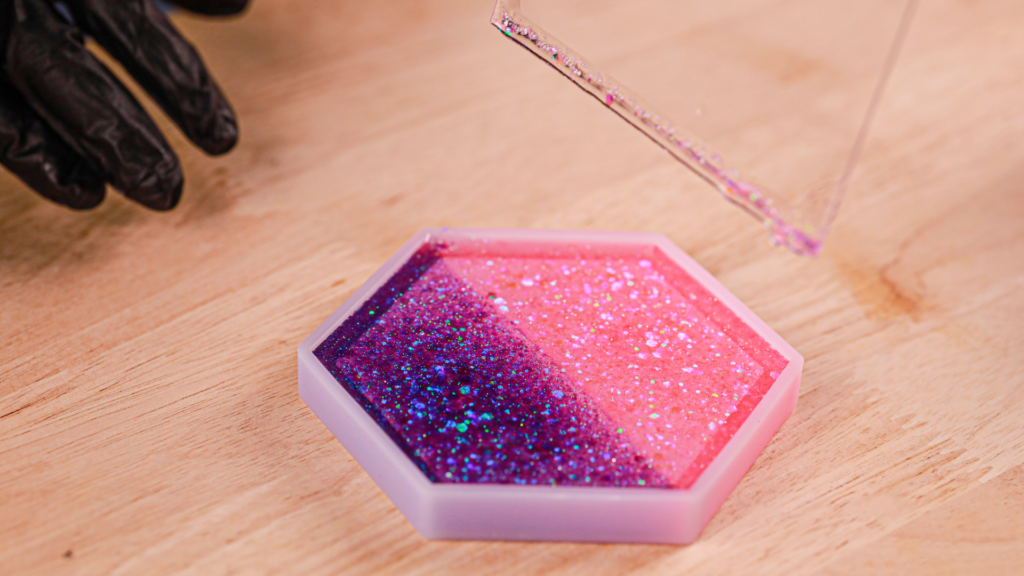
After resin begins curing for about 15 minutes and you can slowly remove the acrylic sheet. Make sure to remove the acrylic sheet within 15-20 minutes otherwise if you wait for too long, you might end up having the acrylic sheet stuck in your project!
8. Wait 18 – 24 hours
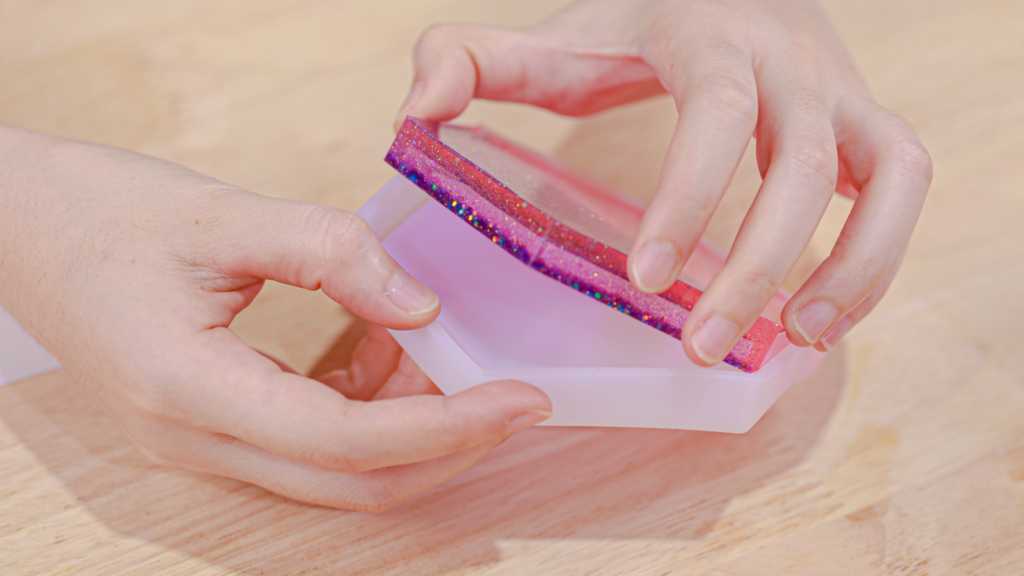
After letting it to dry for 18–24 hours, you can demold your project.
Note: if resin is in a high temperature workspace (35-40°C), it will get hardened in less than 18 hours.
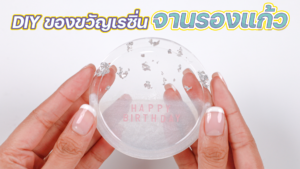
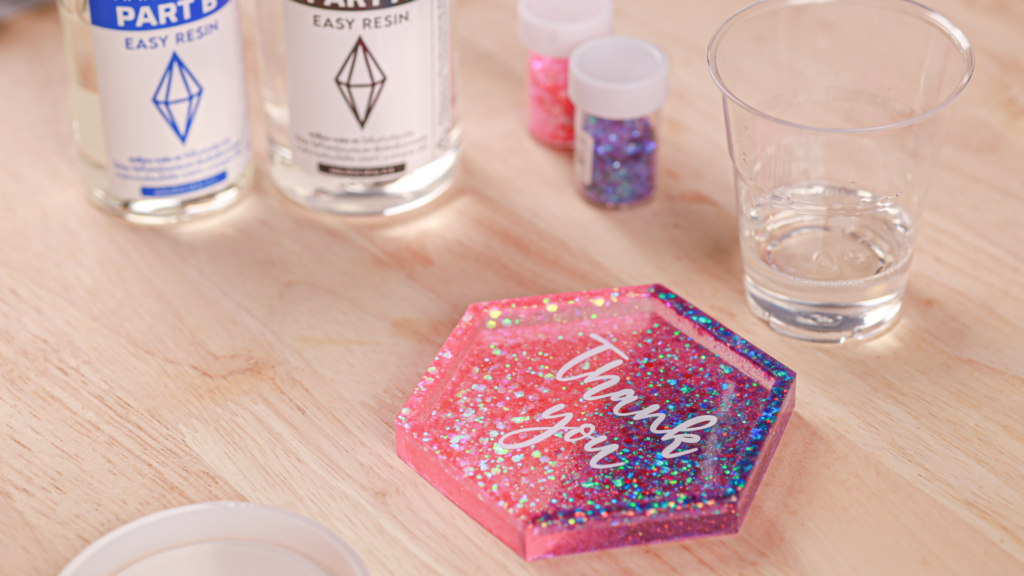
9. Place sticker on your project

After you got the right position for your sticker, you can stick it on your resin coaster and carefully tear away the clear tape that came with the stickers.
10. Final coat.
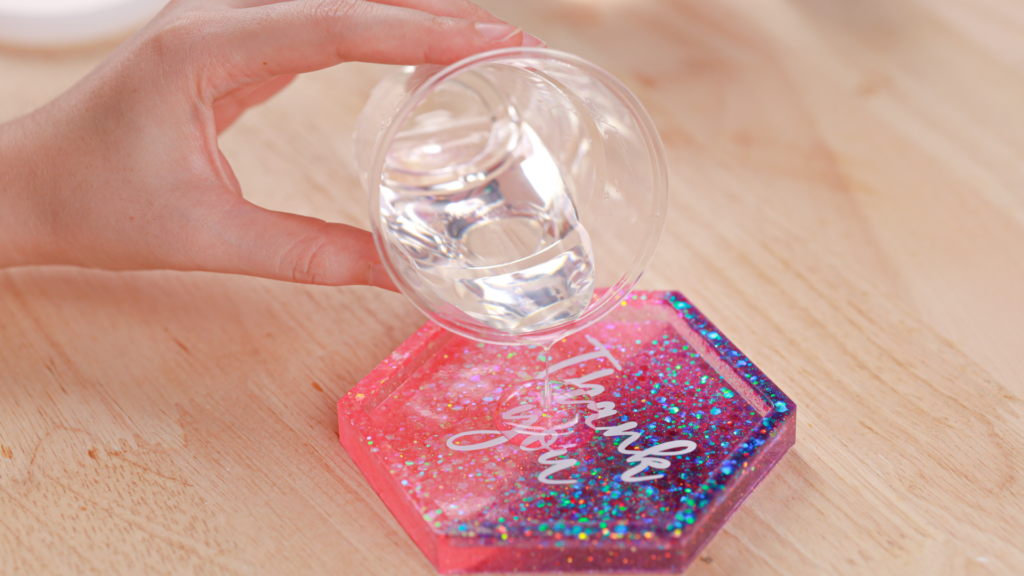
Mix resin and hardener into a total of 15 grams. At a ratio of 2 to 1, you will get 10 grams of resin and 5 grams of hardener. Pour resin slowly over the sticker. Wait for 18–24 hours. Now it is ready to use!
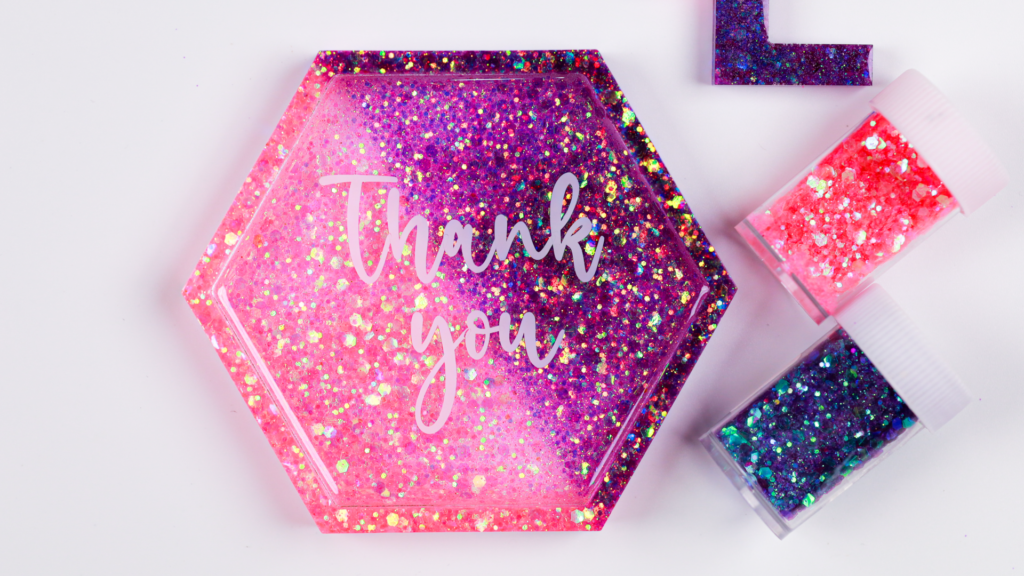
Here it is! DIY coasters that can be given as gifts for any occasion, in just a few steps you will have a remarkable gift for your loved ones. Don’t forget to try and share them with us. ~