
There are many ways to do a resin shaker.
Today, we would like to choose a simple method that you can follow easily.
Equipment for resin shaker
- Pendant frame
- PET Tape
- UV resin (from Easy Resin)
- Miniature decorations as you like
Let’s make a resin shaker!
1. The first step is to put the pendant frame on the PET tape.
And apply a thin layer of UV resin to the pendant frame and use a sharp stick to spread it over the pendant frame.
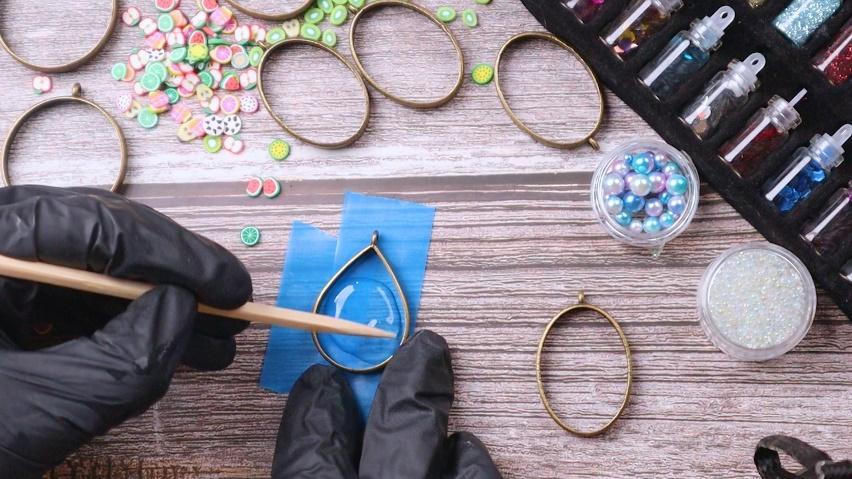
While spreading evenly, use a blowtorch to get rid of the air bubbles, then use a UV flashlight to harden the UV resin. It takes about 2 – 3 minutes. Once it is dry, remove the tape, and use a UV flashlight again on both sides of the workpiece until it is completely dry.
2. Prepare the water inside the pendant frame.
By mixing water and clear glue into the prepared glass or container, and stir them well. After that, pour it into the pendant frame and put the miniature decorations as you like.
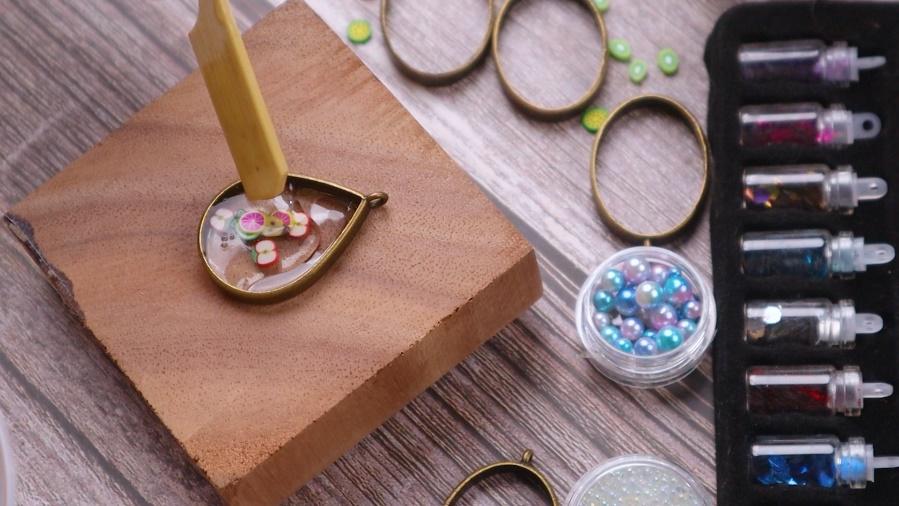
Once finished decorating, put the pendant in the freezer for about 3 – 4 hours.
3. Coat the pendant with UV resin.
Once you see that the water has transformed into ice, you can apply a thin layer of UV resin and use a pointed stick to spread it over the pendant frame.

After that, use the blowtorch to chase away the air bubbles, and use a UV flashlight for about 2–3 minutes.
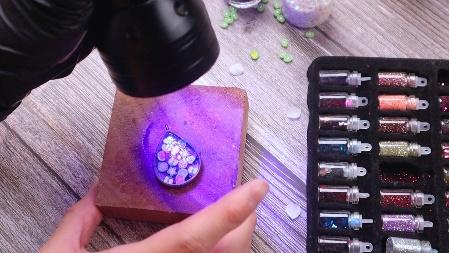
Lastly, you should coat the pendant with UV resin again on both sides to add a convex surface to the workpiece, which will make it look more beautiful. Then use a UV flashlight until it is completely dry.
That’s all! You now have a beautiful resin shaker and it’s not as difficult as you think!
Watch our clip of how-to make resin shakers at >>


