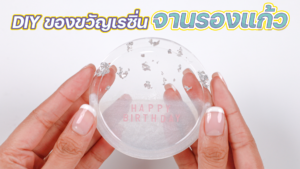
Equipment for making COTTA x Resin Coasters
- Epoxy Resin (from EASY RESIN)
- Silicone molds (coaster shape)
- Dried flowers or gold leaf for decoration
- COTTA
- Acrylic paint
- Digital scale
- Popsicle sticks
- Blowtorch
- Plastic glasses or container for mixing ingredients.
Let’s get started!
1. Mix COTTA at a ratio of 2 : 1.
For a total of 300 grams, we will use 200 grams of Part A (COTTA powder), 100 grams of Part B (COTTA liquid), pour the two ingredients into the prepared container, and stir them for about 5 – 10 minutes (if you feel that it is too sticky, you can gradually add Part B (COTTA liquid) into it).

After that, divide them into containers as many as the number of colors you want to use.

2. Mix COTTA with the prepared acrylic paint.
After adding the acrylic paint, stir well again. If the COTTA is too sticky, you can add a little more of Part B. Then you can pour it into the prepared silicone mold.

3. Pour COTTA into the silicone mold.
Then use a popsicle stick to spread until smooth, and gently tap the silicone mold by lifting it about 1 centimeter above the table, releasing it to allow the air bubbles inside to blow, and repeat that for 4-5 times, then use the blowtorch to get rid of the air bubbles from above. After that, leave it to dry for about 18 – 24 hours.


4. Take it out of the silicone mold.
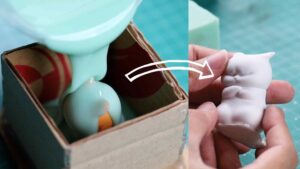
Then split the workpiece in half by using something solid (we used a hammer) and place the broken piece that looks better back in the silicone mold.

5. Mix the resin at a ratio of 2 : 1.
We use 40 grams of Part A (resin) and 20 grams of Part B (hardener) for this workpiece. Pour them into the prepared container and stir for 5 – 10 minutes. Once the resin is well combined, use a paintbrush to slightly apply resin on COTTA to push air bubbles stuck inside (if the hole is big, apply more resin than usual). After that, pour the first thin layer of resin and leave it for 3 – 4 hours.

6. Once the painted resin begins to harden,
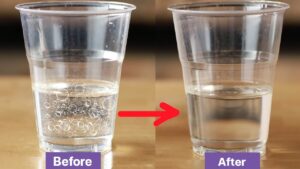
pour the resin again until halfway through the silicone mold, and get rid of the air bubbles by using the blowtorch. Then, leave it for about 30 – 45 minutes for the resin to set again. After that, decorate with dried flowers and prepared gold leaf and remove the air bubbles again.

(At this step, you can decorate it as you like.) When you finish with the decoration, you can pour the resin until the silicone mold is full and get rid of the air bubbles with the blowtorch again.
7. Remove it from the silicone mold.
After waiting for the resin to harden for 24 hours.
Watch our how-to video >>


