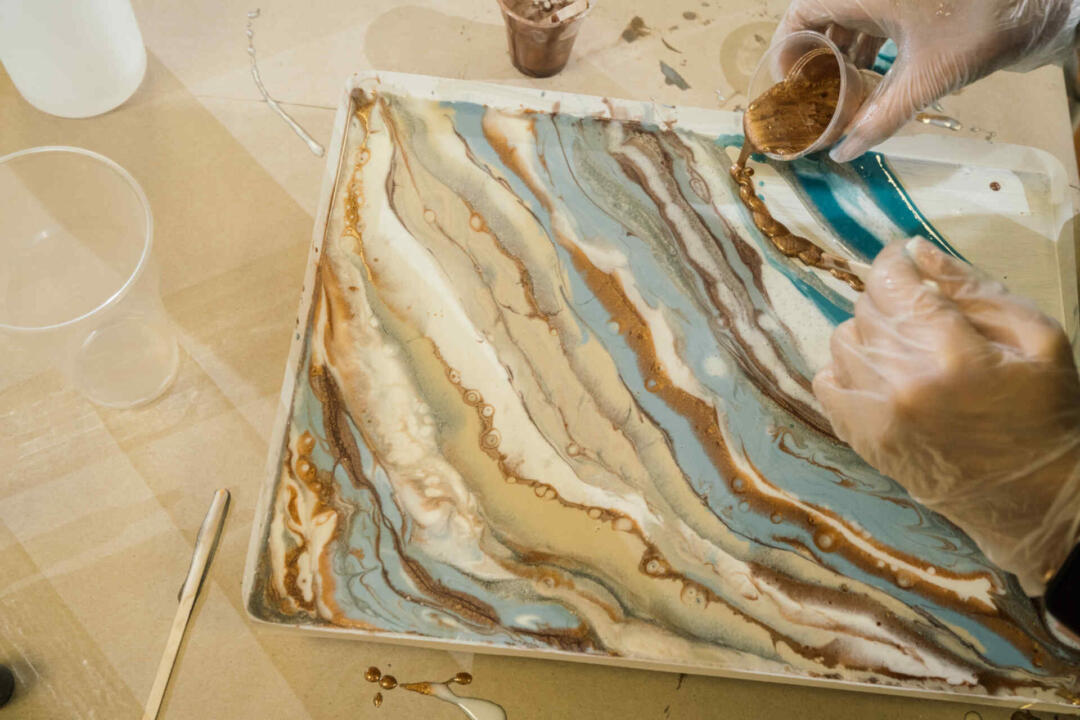
Today we’re going to show you some beautiful DIY projects from our friends using EASY RESIN, for anyone who are DIY newbies. First, let’s understand more about epoxy resin.
Epoxy Resin
It is considered a type of resin that is very clear with the highest strength among all resins. With these two features, epoxy resin can cover a wide range of DIY workpieces, such as jewelry accessories, phone cases, fishing lures, models, floor and furnitures coating.
Each manufacturer’s epoxy resin has its own distinct specifications. For example, some epoxy resins are formulated to easily coat walls and ceilings, while others may be a liquid formulation to make it easier to cover corners.
1. Glossy phone case
Just by pouring a thin layer of epoxy onto the empty case (approximately 20 – 50 baht per a case), you can make a beautiful DIY resin case!
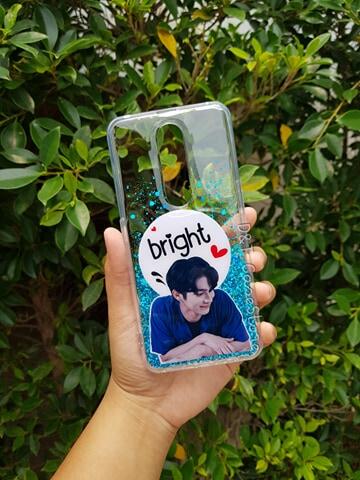

Equipment for resin case
- 450 grams of EASY RESIN with popsicle sticks and gloves
- Glitter or decorations as desired
- Resin pigment
- Plastic glass or container for mixing resin.
- A blank phone case
- Sharp stick for arranging glitter and decorations
- A blowtorch for removing air bubbles
- Digital scale
How to make a resin phone case
- Mix Resin Part A and Hardener Part B at a ratio of 2 : 1 in the prepared container.
- Add resin pigment, you can separate the glass if you want to use multiple colors.
- If you have a decoration such as a sticker, attach it before pouring the resin on the case. If it’s glitter, put it after pouring the resin. Resin should be poured after mixing within 10 – 15 minutes.
- Remove air bubbles by using the blowtorch.
- Protect the resin case from dust by covering it with cardboard, and wait for it to dry for about 15 – 24 hours.
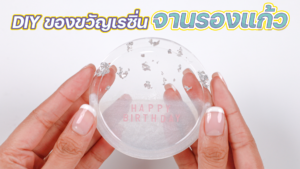
2. Resin Coasters
This is a very simple and easy DIY with just a little equipment.
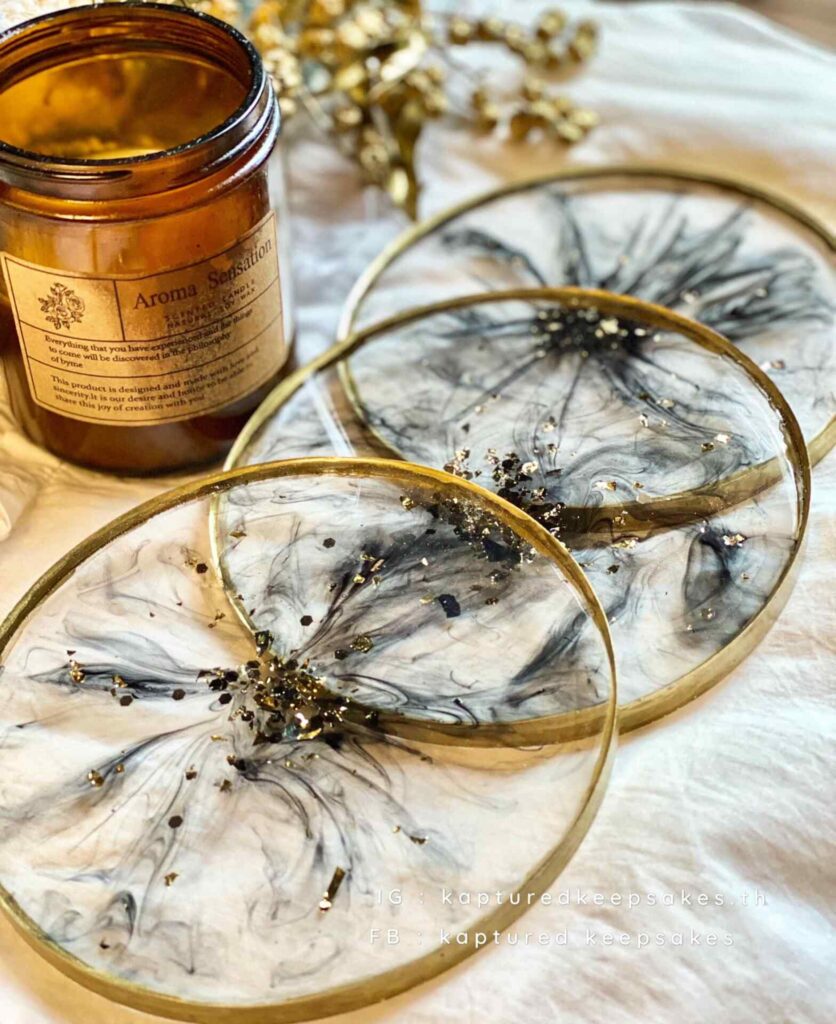
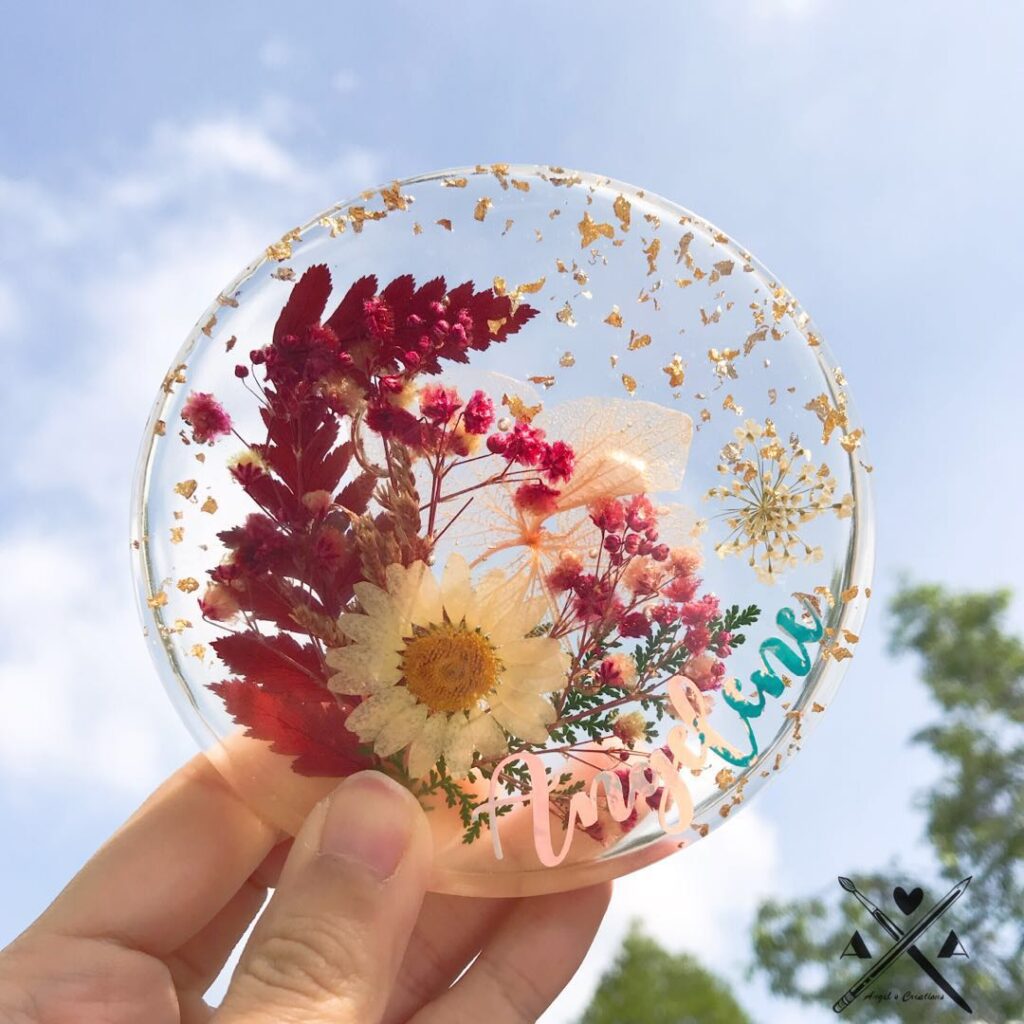
Equipment for resin coasters
- 450 grams of EASY RESIN with popsicle sticks and gloves
- Glitter, gold leaf, or decorations of your choice.
- Resin pigment
- Plastic glass or container for mixing resin
- Silicone mold: coaster shape (If the mold is matt, your finished workpiece will come out matt.)
- Sharp stick for making patterns and decorating
- A blowtorch for removing air bubbles
- Digital scale
How to make resin coasters
- Mix Resin Part A and Hardener Part B at a ratio of 2 : 1 in the prepared container.
- Add resin pigment, you can separate the glass if you want to use multiple colors.
- If you have a decoration such as a sticker, attach it before pouring the resin on the case. If it’s glitter, put it after pouring the resin. Resin should be poured after mixing within 10 – 15 minutes.
- Remove air bubbles by using the blowtorch.
- Protect the workpiece from dust by covering it with cardboard, and wait for it to dry for about 15 – 24 hours.
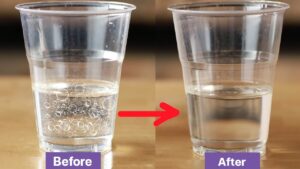
3. Artificial water from epoxy resin
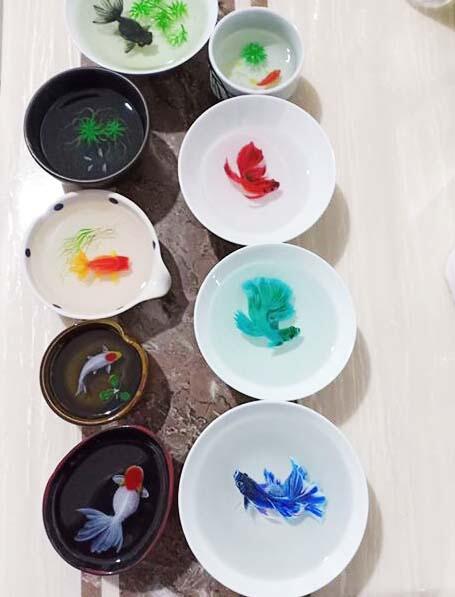
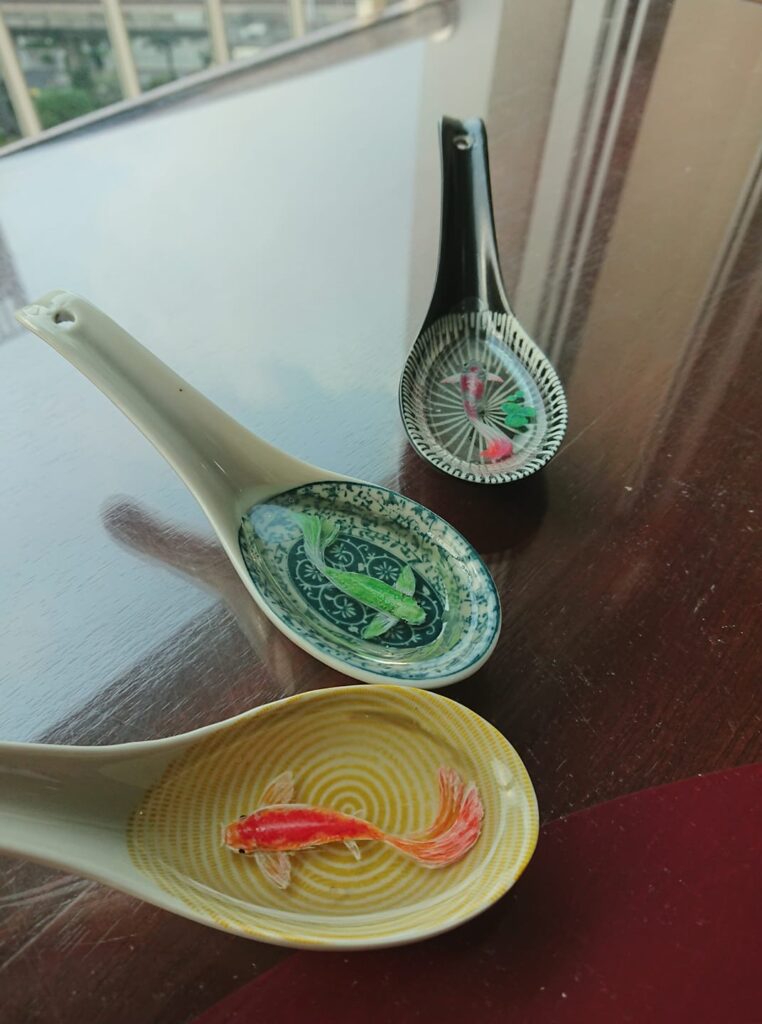
Equipment for artificial water from epoxy resin
- 450 grams of EASY RESIN with popsicle sticks and gloves
- Plastic glass or container for mixing resin.
- Bottles or cups of your choice.
- Sharp stick for making patterns and decorating
- A blowtorch for removing air bubbles
- Digital scale
How to make artificial water from epoxy resin.
- Mix Resin Part A and Hardener Part B at a ratio of 2 : 1 in the prepared container.
- You can add a little bit of blue pigment as you like in this step.
- Remove air bubbles with the blowtorch.
- Protect the workpiece from dust by covering it with cardboard, and wait for it to dry for about 15 – 24 hours.
4. Coating the table with epoxy resin
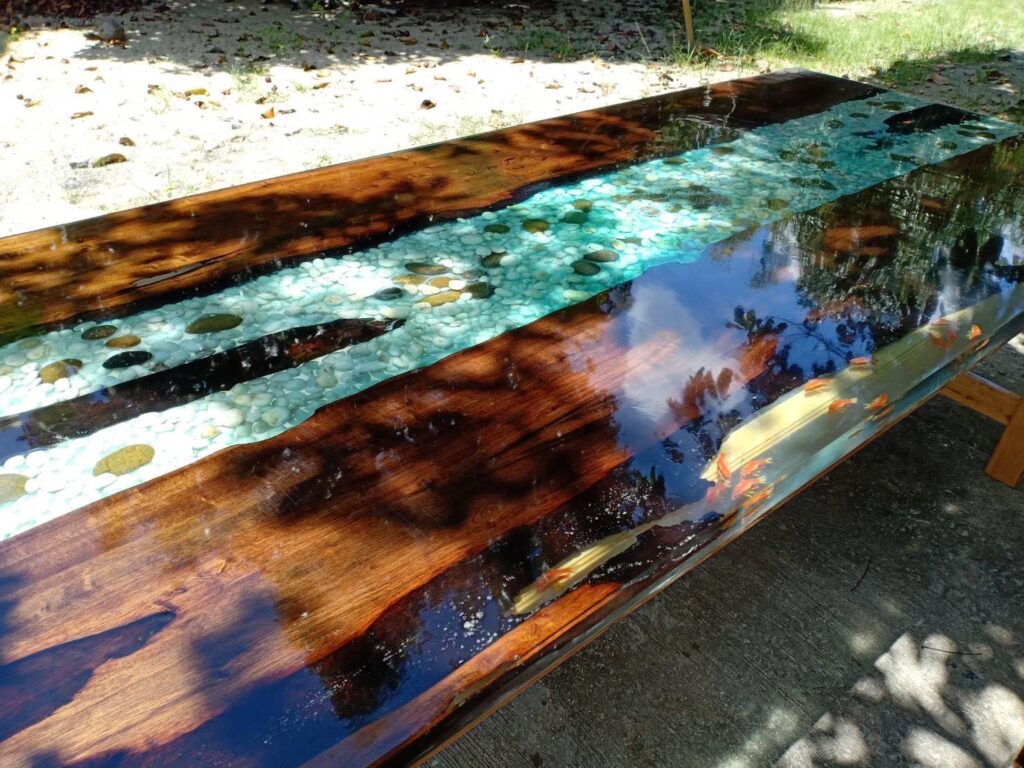
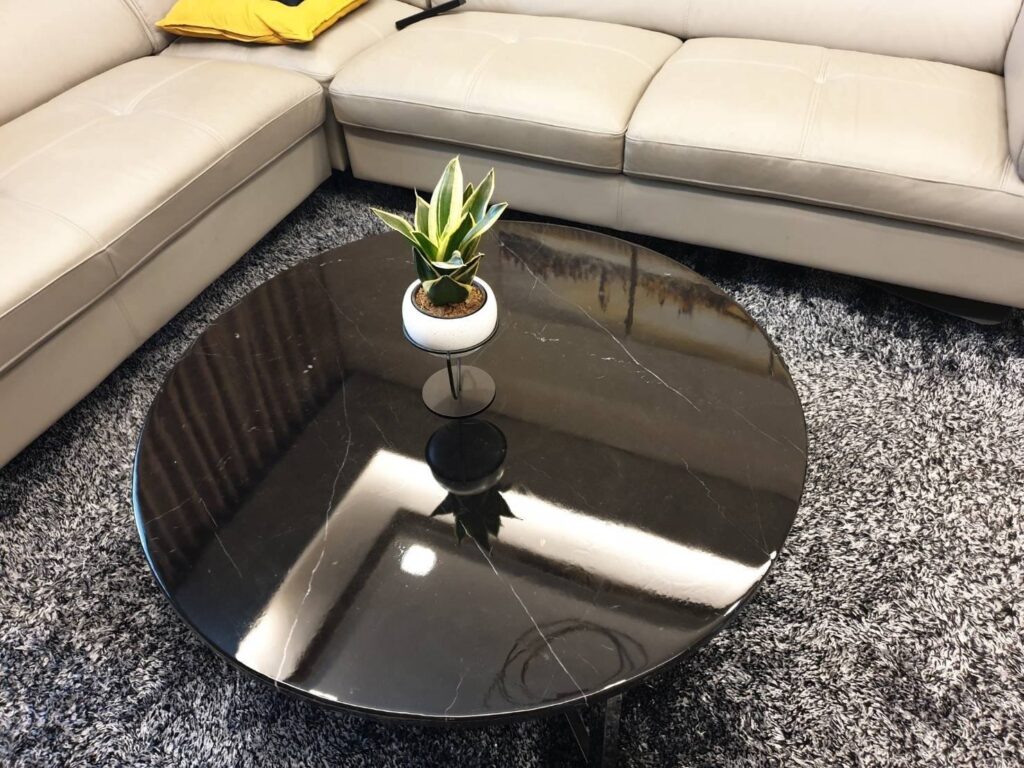
Equipment for coating tables
- 3 kilograms of EASY RESIN with gloves
- Container for mixing resin.
- Material that you want to coat
- A big blowtorch for removing air bubbles
- Digital scale
How to coat the table with epoxy resin
- Mix a small amount of Resin Part A and Hardener Part B at a ratio of 2 : 1 in the prepared container.
- Stir them until they are well-mixed. If you coat the materials that have holes (such as wood), use a brush to paint slightly on the holes and wait for it to dry for about 15 hours.
- Mix again at the required amount of resin, you can calculate at https://www.easy-resin.com/calculate. The common thickness for coating tables is approximately 1.5 – 2 millimeters depending on your materials.
- Remove air bubbles by using the big blowtorch.
- Protect the workpiece from dust by covering with cardboard, and wait for it to dry for about 15 – 24 hours.
What you see above are just some examples of DIY Epoxy Resin making. If you have any cool ideas for Epoxy Resin, don’t forget to share them with us at : https://www.facebook.com/easyresin/
